Since X-Plane particularly excels at flying low and slow, doing detailed flight planning, especially fuel planning, is probably a thing rarely done by its users. I also mostly bush fly my GA planes on FSE around anchorage, but every now and then on a weekend I want to take the contents of my “Heavy Metal” out for a spin without having to spend too much time looking for waypoints on skyvector…
In a short series of blog posts I will explain in some detail how I usually do my planning for such flights and what tools I use. The example flight I will do will take me from Yellowknife in the Northwest Territories of Canada down to Edmonton in Alberta, Canada using the FlyJSim 737-200.
The FlyJSim 737-200 has a very basic steam-gauge cockpit and lacks a FMC. Usually you would just fly it by navigating from VOR to VOR, but high up in the north those are pretty rare. Fortunately there is the great CIVA INS by Philipp Muenzel, simulating the Delco Carousel IV-A Intertial Navigation System. This will allow me to do some RNAV while still keeping me busy in the air.
In this first few posts I will describe the planning I usually do before launching X-Plane, It rarely ever takes longer than a few minutes, less than five usually. I don’t aim for maximum realism by any means and I am not a real world pilot, I just wanted a nice workflow to get me flying quickly, knowing what to expect even without detailed knowledge of the destination field.
This very first post will show how I check the weather before I decide to take on a flight.
Weather Check
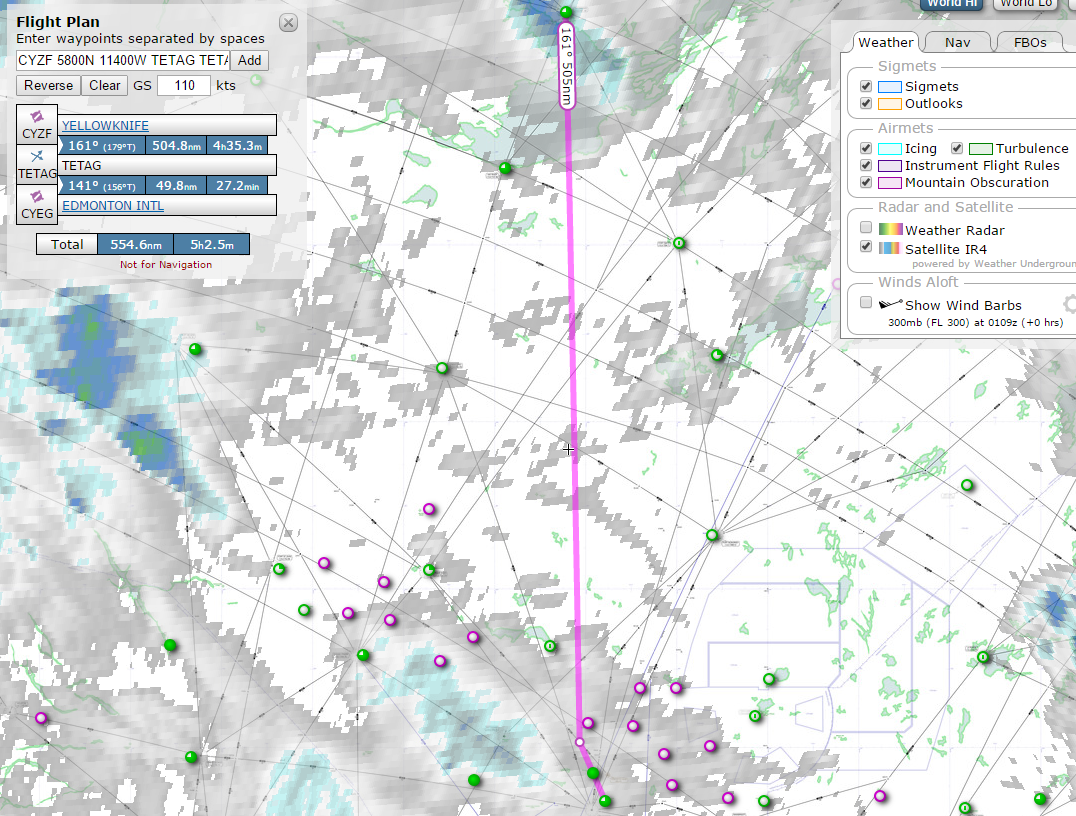
Before I take on such a flight, I usually check weather of departure and destination airport as well as enroute. For this I visit the SkyVector website and enter a direct flightplan (we will determine the detailed final flight plan with a separate tool) from the departure to the destination by clicking on the “Flight Plan” link in the top left of the window and entering the ICAO airport codes, CYZF and CYEG (if unsure, they can easily be found by visiting the Wikipedia page on the airport). After clicking the “Layers” link in the top right you can select from a list of layers to be shown on top of the map view.

Figure 1 shows you the “Satellite IR4” overlay, using long wave infrared imagery, for the flight. You can see there are some clouds to be expected both on departure and arrival, but nothing major, really.

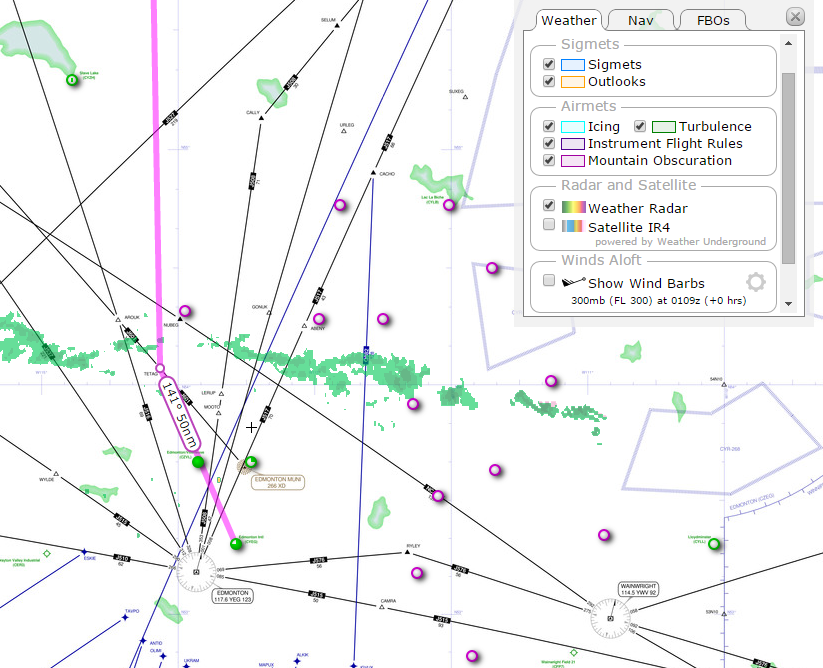
Next I activate the “Weather Radar” view, this shows me there is some precipitation north of Edmonton, but again nothing to be scared about.

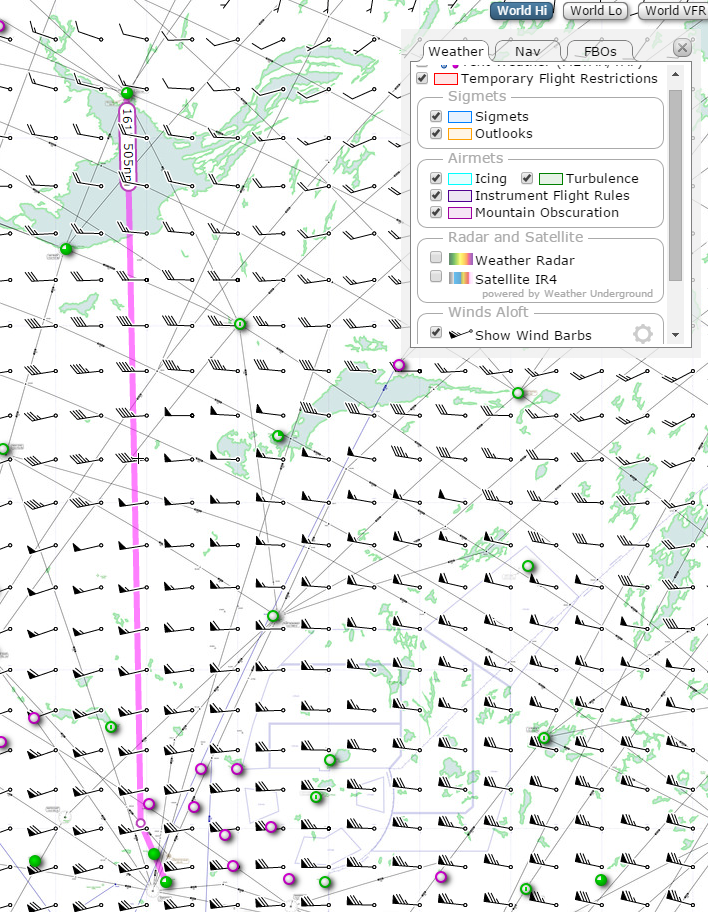
Last I usually take a short look at the wind overlay SkyVector provides, for anything unusual. The actual wind speeds are not too important right now, since they will automatically obtained and taken into consideration by the flight planning tool I will use in the next step of the pre-flight planning.
This concludes the first section of the preflight planning. It obviously usually takes less than a minute. As a result of this I already have rough idea of what kind of weather to expect and can decide if I am willing to do this flight.
In the next post I will decide what route to take based on real world routes and some flight planning software.